Assignment 24 Eight LED with 74HC595

Image

//www.elegoo.com
//2016.12.9 

int tDelay = 100;
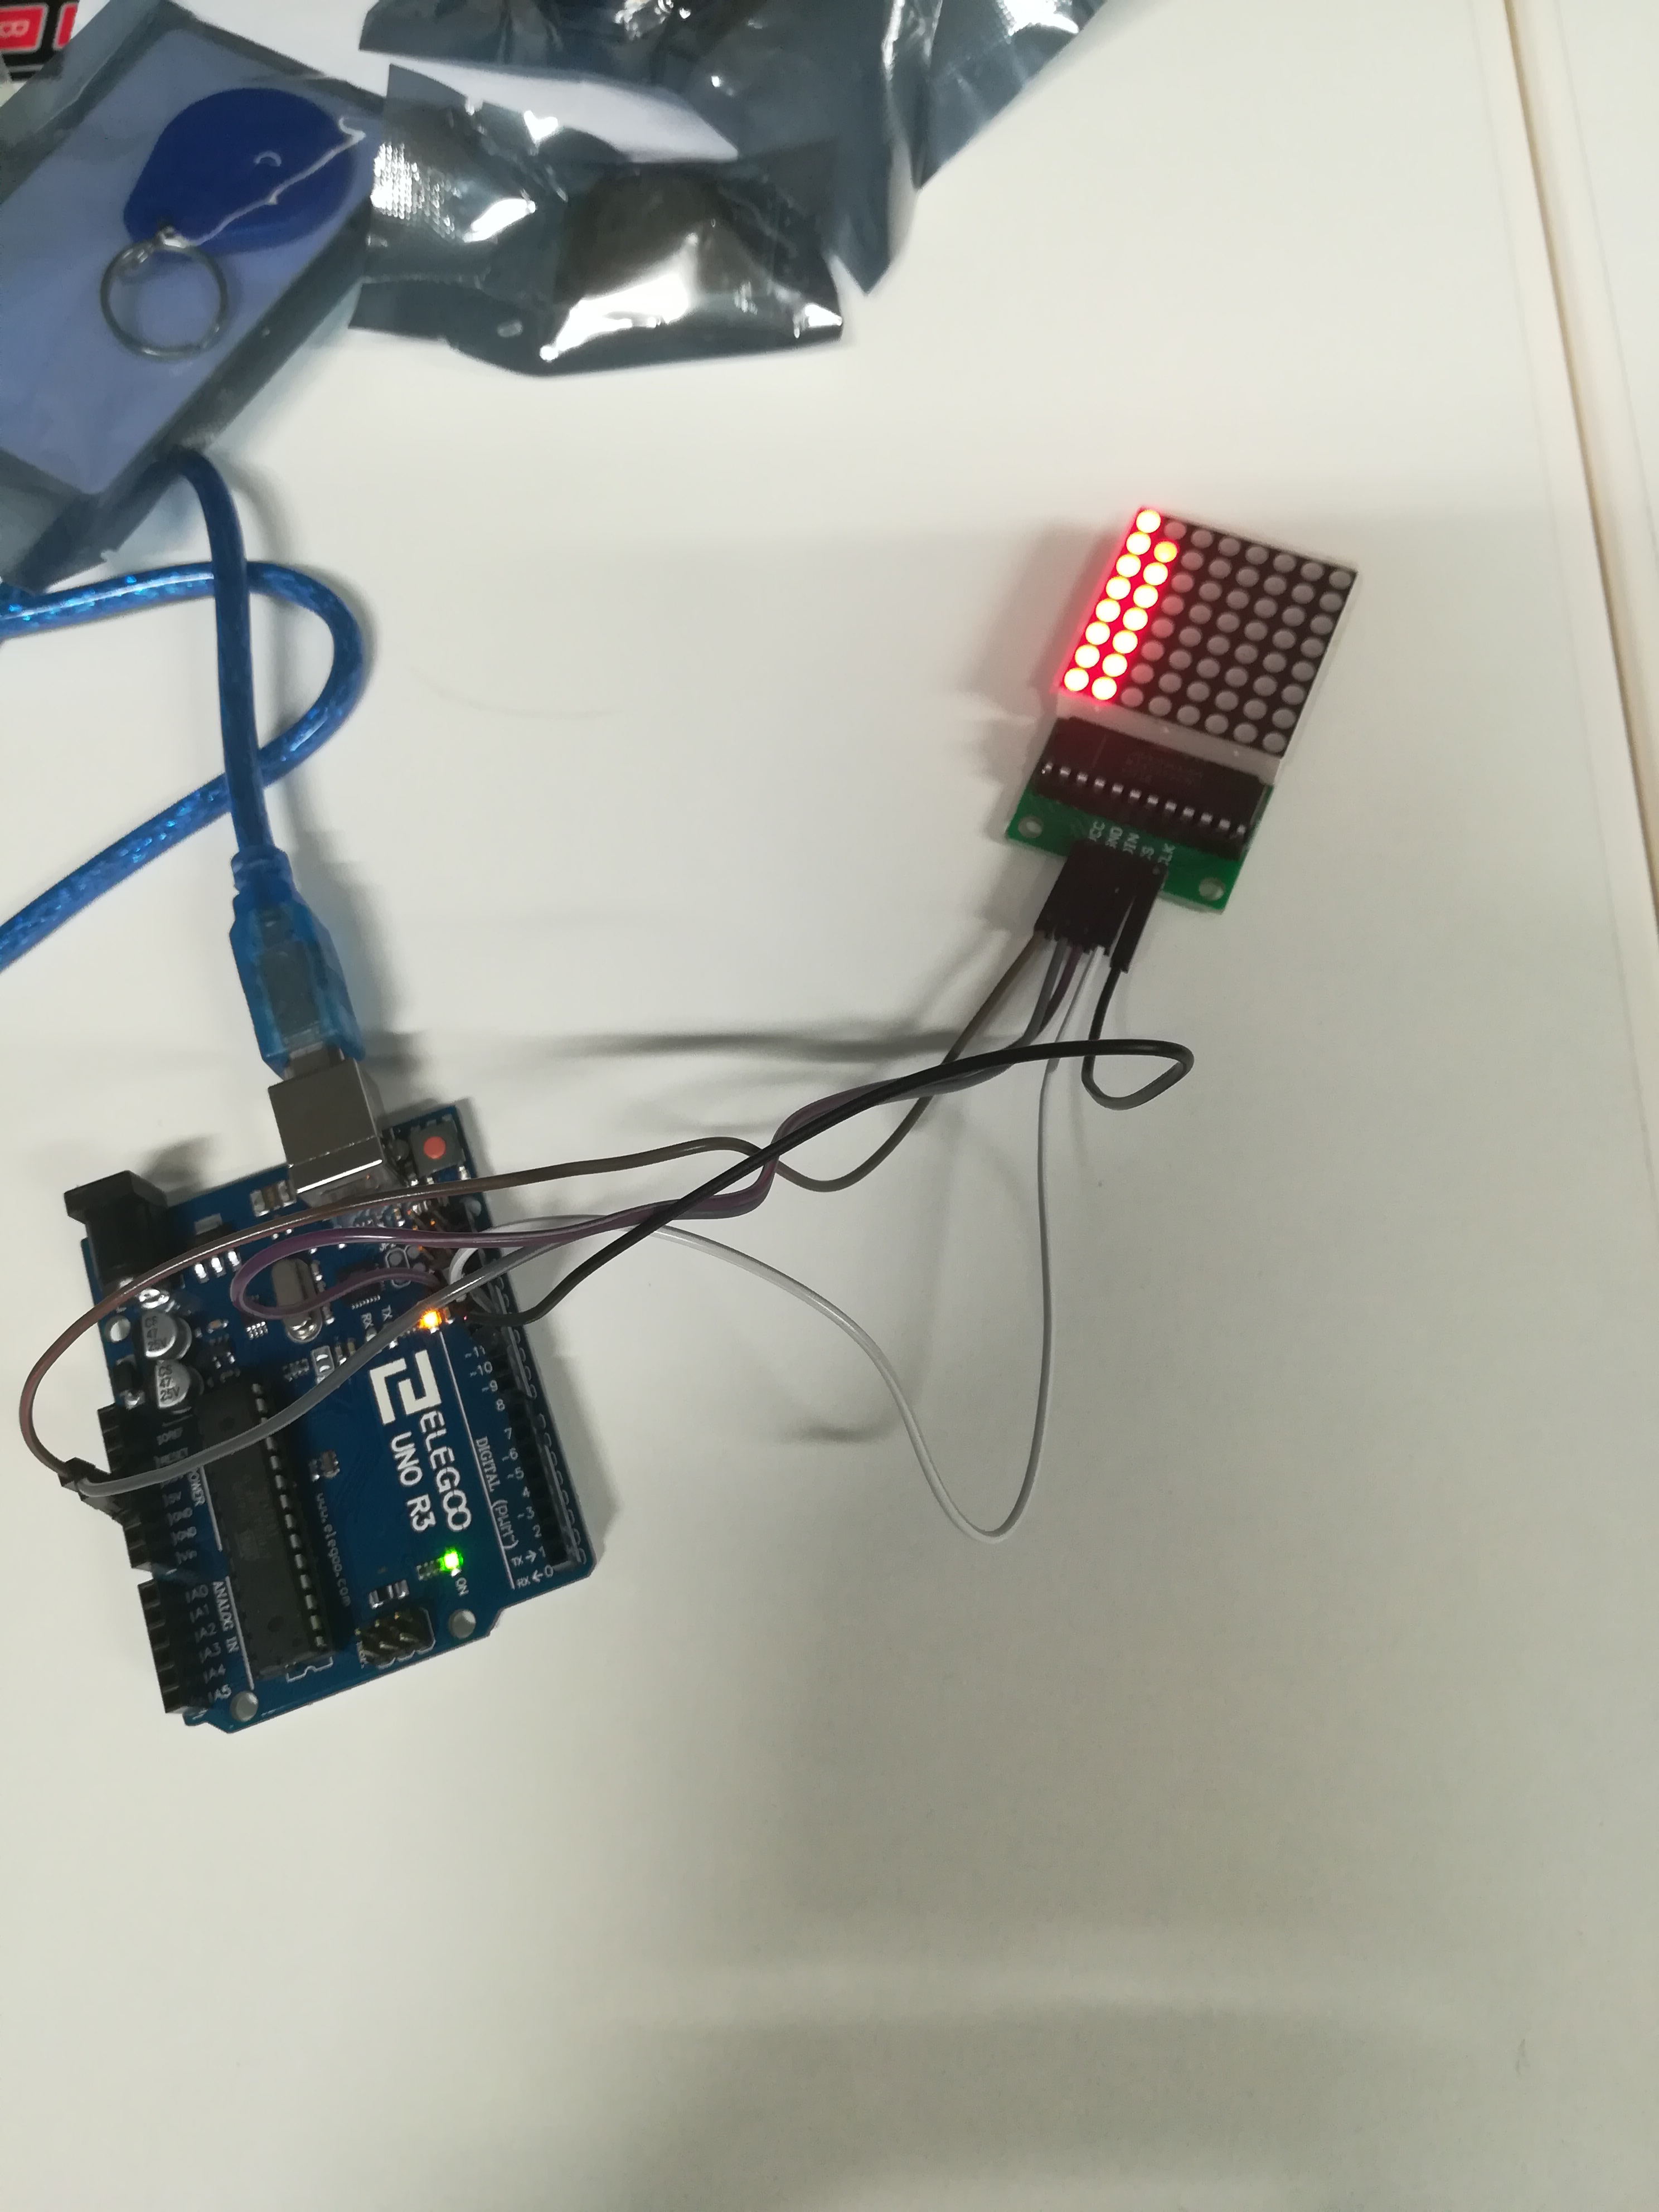
int latchPin = 11;      // (11) ST_CP [RCK] on 74HC595
int clockPin = 9;      // (9) SH_CP [SCK] on 74HC595
int dataPin = 12;     // (12) DS [S1] on 74HC595

byte leds = 0;

void updateShiftRegister()
{
   digitalWrite(latchPin, LOW);
   shiftOut(dataPin, clockPin, LSBFIRST, leds);
   digitalWrite(latchPin, HIGH);
}

void setup() 
{
  pinMode(latchPin, OUTPUT);
  pinMode(dataPin, OUTPUT);  
  pinMode(clockPin, OUTPUT);
}

void loop() 
{
  int n = 0;
  leds = 0;
  updateShiftRegister();
  delay(tDelay);
  if (n == 0) {
      for (int i = 0; i < 8; i+=2)
  {
    bitSet(leds, i);
    updateShiftRegister();
    delay(tDelay);
    n = 1;
  }
    }
    leds = 0;

   if ( n == 1) {
    for (int i = 1; i < 8; i+=2)
  {
    bitSet(leds, i);
    updateShiftRegister();
    delay(tDelay);
    n = 0;
  }
   }


}

Assignment 19-Real Time Clock Module

//www.elegoo.com
//2016.12.

// initialize the library with the numbers of the interface pins
LiquidCrystal lcd(7, 8, 9, 10, 11, 12);

DS3231 clock;
RTCDateTime dt;

void setup() {
// set up the LCD’s number of columns and rows:
lcd.begin(16, 2);
// Print a message to the LCD.
// lcd.print(“Hello, World!”);
Serial.begin(9600);

Serial.println(“Initialize RTC module”);
// Initialize DS3231
clock.begin();

// Manual (YYYY, MM, DD, HH, II, SS
// clock.setDateTime(2016, 12, 9, 11, 46, 00);

// Send sketch compiling time to Arduino
clock.setDateTime(DATE, TIME);
/*
Tips:This command will be executed every time when Arduino restarts.
Comment this line out to store the memory of DS3231 module
*/

}

void loop() {
dt = clock.getDateTime();

// For leading zero look to DS3231_dateformat example

lcd.setCursor(0,0);

lcd.print(dt.year); lcd.print(“-“);
lcd.print(dt.month); lcd.print(“-“);
lcd.print(dt.day); lcd.print(” “);

lcd.setCursor(0,1);
lcd.print(dt.hour); lcd.print(“:”);
lcd.print(dt.minute); lcd.print(“:”);
lcd.print(dt.second);
delay(1000);

}


Assignment 17- HC-SR501 PIR SENSOR


/*  
    Arduino with PIR motion sensor
    For complete project details, visit: http://RandomNerdTutorials.com/pirsensor
    Modified by Rui Santos based on PIR sensor by Limor Fried
*/
int buzzer = 12; 
int led = 13;                // the pin that the LED is atteched to
int sensor = 7;              // the pin that the sensor is atteched to
int state = LOW;             // by default, no motion detected
int val = 0;                 // variable to store the sensor status (value)

void setup() {
  pinMode(led, OUTPUT);      // initalize LED as an output
  pinMode(sensor, INPUT);    // initialize sensor as an input
  Serial.begin(9600);  // initialize serial
   pinMode(buzzer,OUTPUT);
}

void loop(){
  tone(buzzer,10,5);


  val = digitalRead(sensor);   // read sensor value
  if (val == HIGH) {           // check if the sensor is HIGH
    digitalWrite(led, HIGH);   // turn LED ON
    delay(100);                // delay 100 milliseconds 
  digitalWrite(buzzer,HIGH);
        delay(2);//wait for 2ms

    
    if (state == LOW) {
      Serial.println("Motion detected!"); 
      state = HIGH;       // update variable state to HIGH
    }
  } 
  else {
      digitalWrite(led, LOW); // turn LED OFF
      delay(50);             // delay 200 milliseconds 
        digitalWrite(buzzer,LOW);
        delay(1);

        
      if (state == HIGH){
        Serial.println("Motion stopped!");
        state = LOW;       // update variable state to LOW
        
    }
  }
}

Assignment 15 : MAX7219 LED Dot Matrix Module

Component used:

  • Elegoo Uno R3
  • Max7219 module
  • Female to Male Dupont wires

In this experiment we were able to turn on and off the 64 LEDs of each modules, using only 3 pins on Arduino.

This module is based on the MAX7219 chip which is a compact, serial input common-cathode driver that interfaces microcontrollers to LED matrices.

Here we have connected the VCC and Ground to the Arduino, pin 12 is connected to DIN , pin 11 is connected to CS and pin 10 is connected to CLK.

Below we can see the connection diagram

dav